
Recently I discovered these intriguing images shot by photographer Christoffer Relander
He’s been creating these beautiful multiple exposure images, in-camera on his Nikon D700. 
Looking into how he did it, I discovered that basically it’s using what appears to be a gimmicky feature that blends two or more images in camera.

The effect has been possible to create for years in photoshop using layers and blending modes, and I’ve often used it to add texture to images, but never before had I thought to use two images to create an image made out of texture.

His nature portraits work was really inspiring to me And his use of one image as a mask for a texture is really creative…
…even mysterious
 I presume this is his dog; in an ethereal, Aslan-style pose!
 He’s even applied his ‘multi-exponering’ to a wedding photography context!
So, on looking into this, I noticed that a Multiple Exposure feature was one of the new additions to my Canon 5DmkIII.
High-end pro DSLRs don’t generally include gimmicky ‘fun’ features – neither portrait/landscape/sports modes nor miniature tilt-shift images & spot-colour shindlering (commonly found on consumer DSLRs and IXUS models) and on it’s release I largely ignored the new fangled HDR mode and Multiple exposure modes on the 5DmkIII.
But after seeing Relander’s work, I thought I’d take my camera along to lunch out with some buddies and have a play…
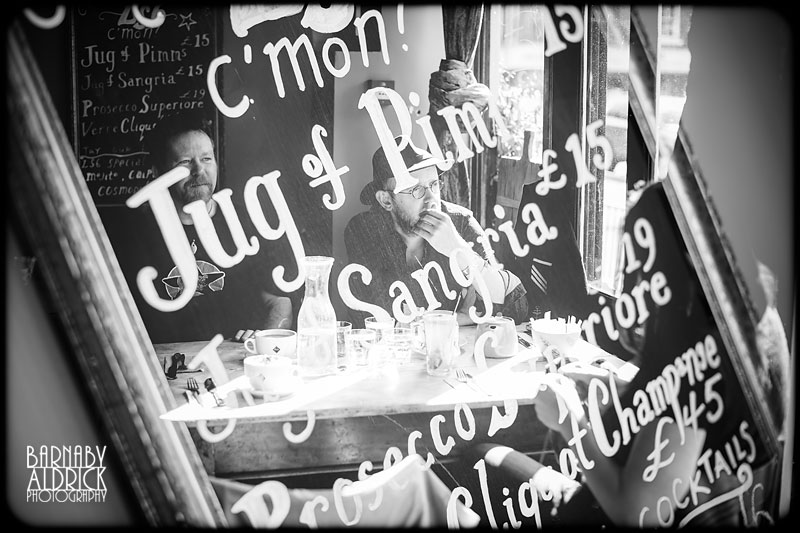
…and so began my adventures into what Relander called Muli-Exponeering!
Blackboard or mirror? It can both with multiple exposure…
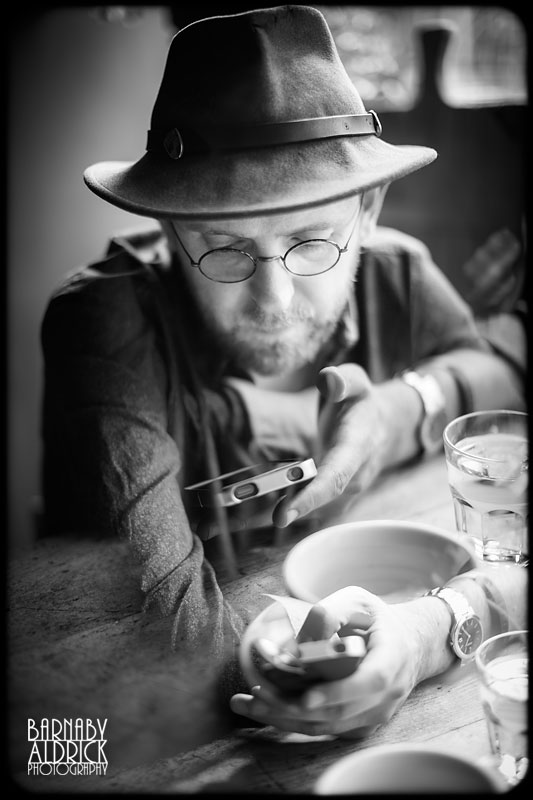 There are a whole host of options, and it takes a while to get a hang of how light and dark areas interact using the different modes; but I rather like this one of the Leeds-based stand-up comic, Silky, playing on his phone.
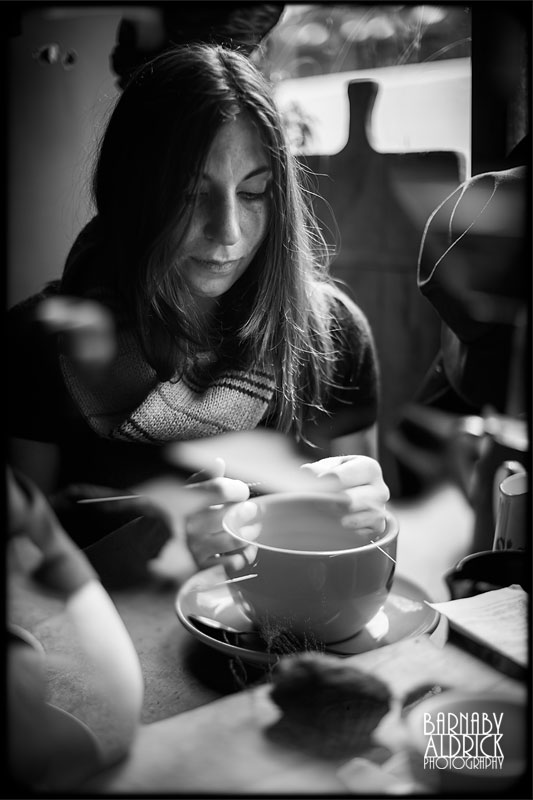 Silky’s missus, enjoying a spot of knitting, blended with a table scene.
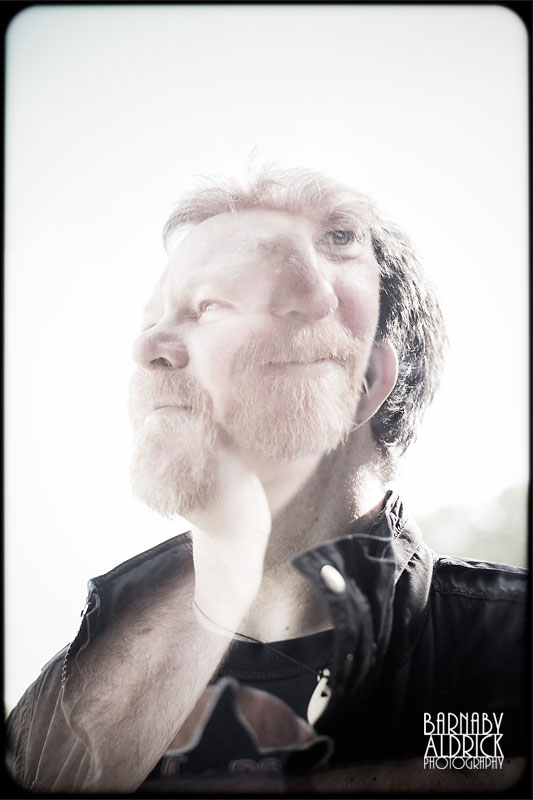
I soon realised that to make this really work, you’ve got to blend an image with either true white or true black, to allow the texture to show through, even if the texture is another face, as shown on my homey Joseph Cowin.
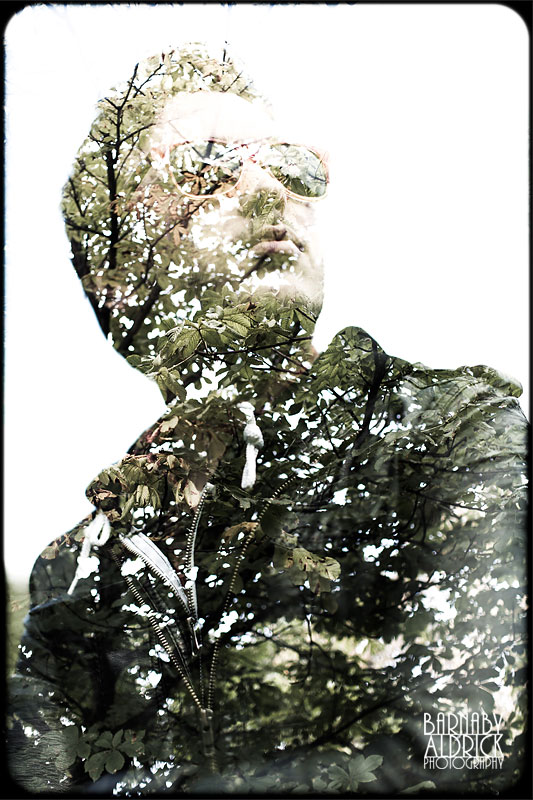 After finishing luncheon with my pals, I immediately met another pal for coffee, Matt Baxter – a muso slash photographer) for a photo catch up (ah the life of a wedding photographer!), and after a good gas, he let me take him out for a multiple-exposure portrait sesh…
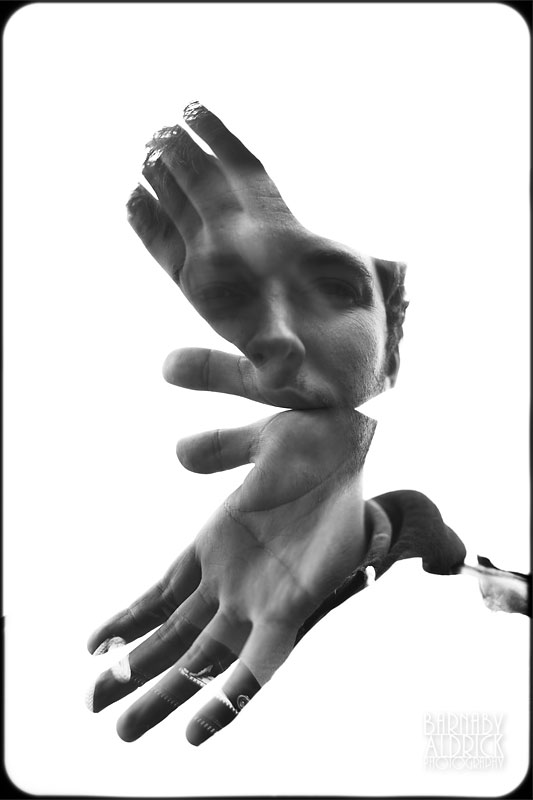
What I was learning now was to shoot a contrasty portrait to blend with a contrasty mask, such as the hands.
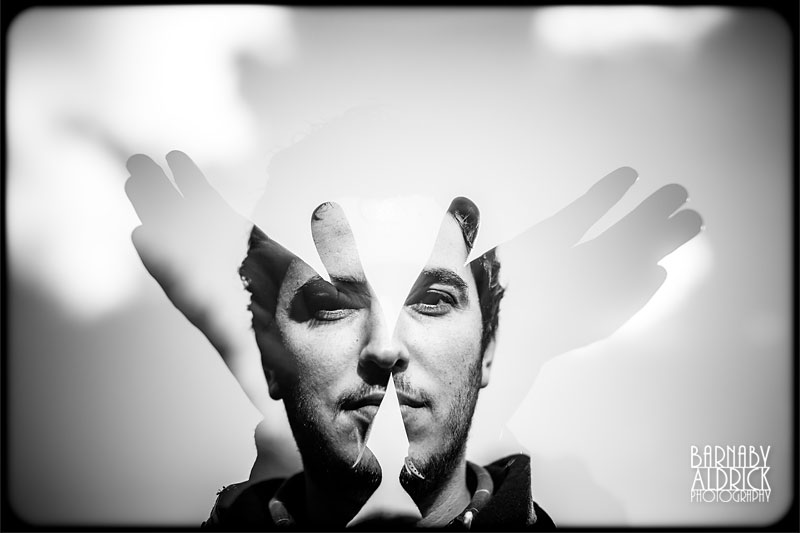
Plus I spotted that on the MkIII, you could actually select an image off the memory card to use as your reference image, then add another to it.
ie. using the same hands image twice.
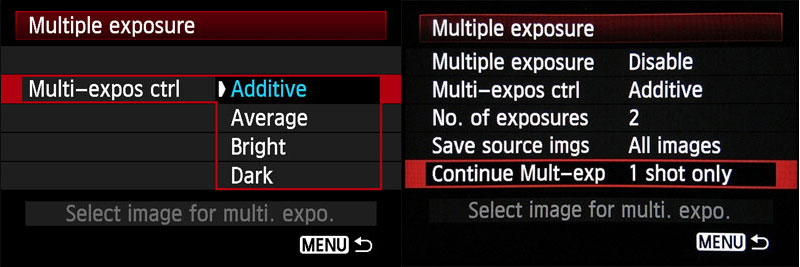
Basically the way it works on the 5DmkIII is you enable multiple exposure, choose your ‘Multi-Exposure ctrl’ ie. the ‘blending mode’ and whether it cleverly ‘adds’ the images together (‘Additive’), equals out the exposure of each (‘Average’), uses the bright areas (‘Bright’) or blends the dark areas of each image (durr, ‘Dark’).
As opposed to the HDR mode, which essentially blends 3 images into 1 JPEG, this mode saves the two or more images into one new RAW file, with all the latitude to push & pull that you might on any other RAW, but that would be lost in a JPEG. Further, you can request that the camera saves the RAW ‘source’ files used in the blend as separate images, in case you’d like to play later.
As mentioned on the last hands image, the best feature by far is that you can ‘Select image for multi-exposure’ from your memory card and blend that with the next image you shoot. A fun step further would be just to be able to select 2 or more images from a memory card and play blending whenever you fancy, but you can only reference one file to blend with the next.
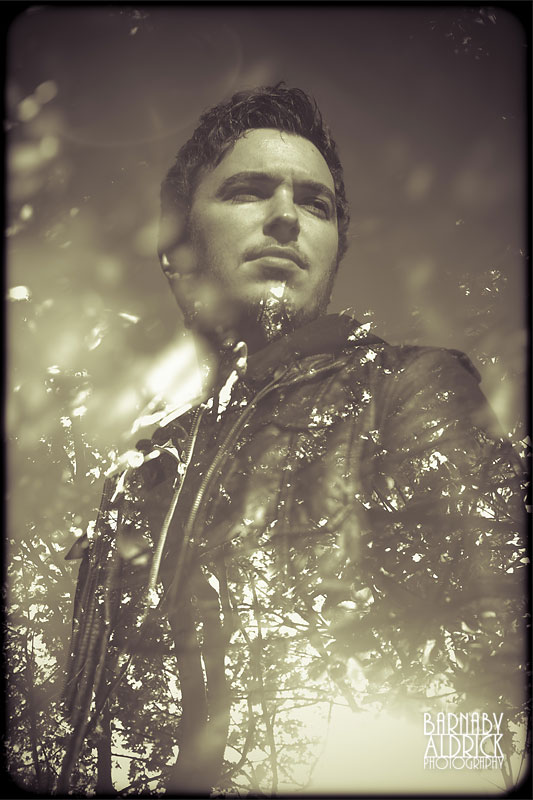
Anyhoos – the advantage of this is that you can basically do a portrait shoot first and THEN go out searching for texture on your own time.
So this pic above of Matt was shot in the contrasty sunshine, and the texture added later while I was walking my dog in the park.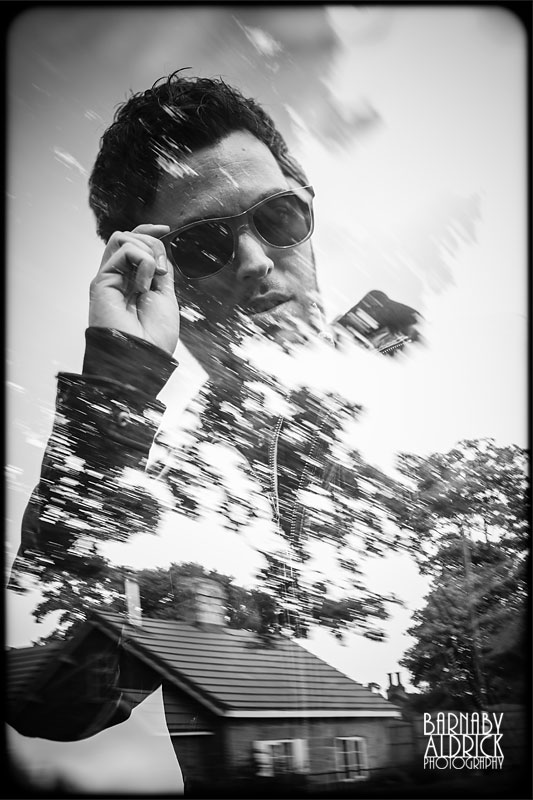
This texture moving past a suburban scene was driving out to another photographers hangout with my pal Cris Matthews that evening.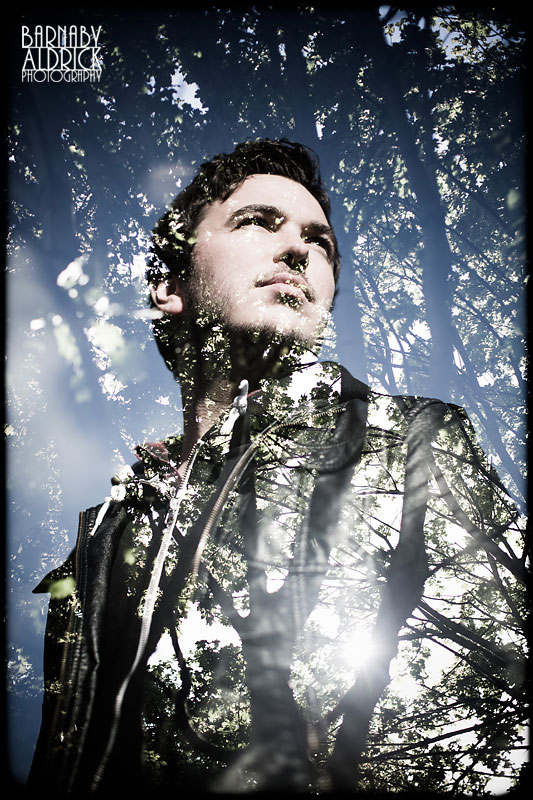 Initially, to avoid colour distractions, I set my picture style to B+W, and blended two B+W RAWs, which although showing as B+W on the camera LCD, have the benefit of still retaining the colour info when opened in Photoshop & Lightroom. So when I opened this blend in colour, I rather liked how the blue sky of the portrait and the green leaves of the tree texture blended together.
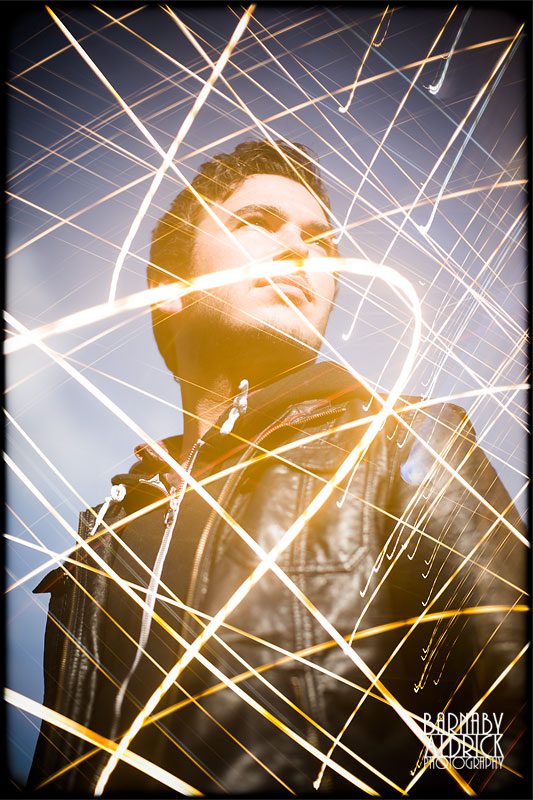
Here’s the same image, blended with some long exposure street light ‘swirling’ (my own technical term!) on the way back from the night out with Cris.
Looks kinda spacey.
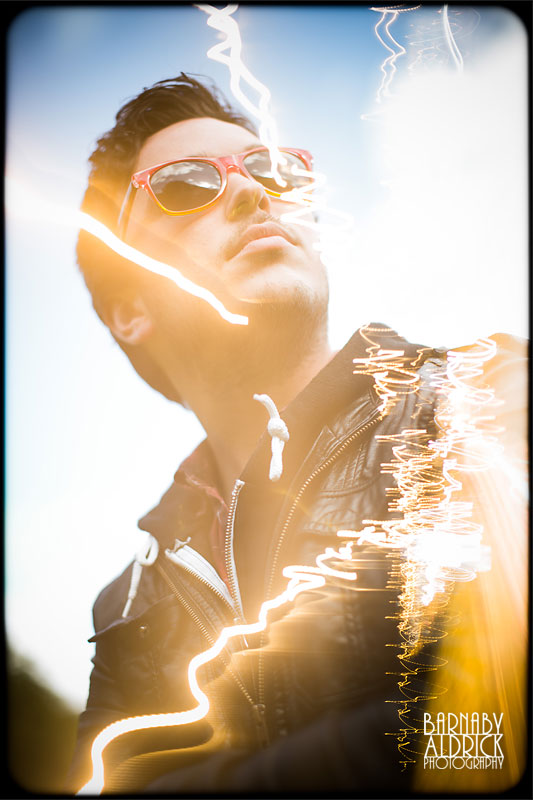 Another daytime image blended with a night-time, long-exposure swirl.
FYI: These images were all run through Lightroom, for a few tweaks & edging, but essentially this is how they appeared in-camera!
This is why this technique is so fun, because with good source material and a bit of experimentation, you shoot and wait and what you get it a bit of a surprise!
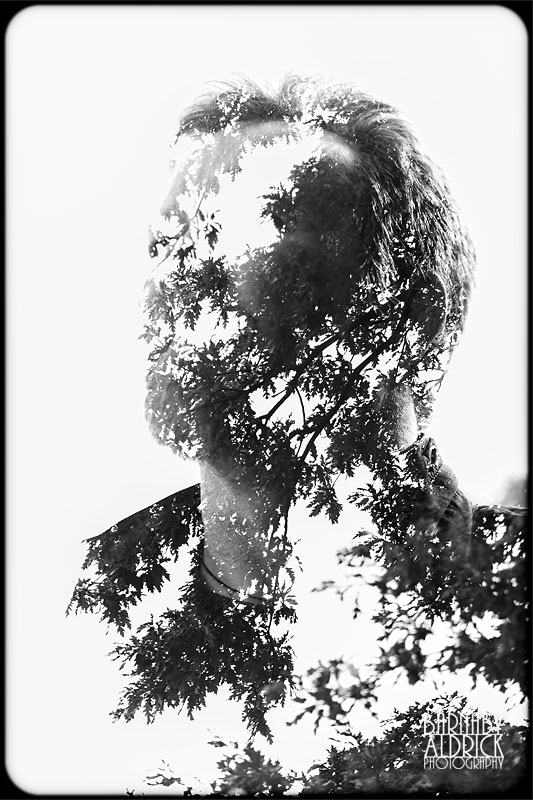
On subsequent days what I did was copy the portrait shoot RAWs off the memory card, file em down to the faves, pop those back onto a blank card and take the camera out to the woods while I walked the dog; looking for textures to blend with yesterday’s portrait highlights.
What I liked initially about Relander’s images was they mysterious faces made of nature, like monsters made of sand or rocks in cartoons and movies. The image above has that sinister mystery, of a face, devoid of eyes and a mouth.
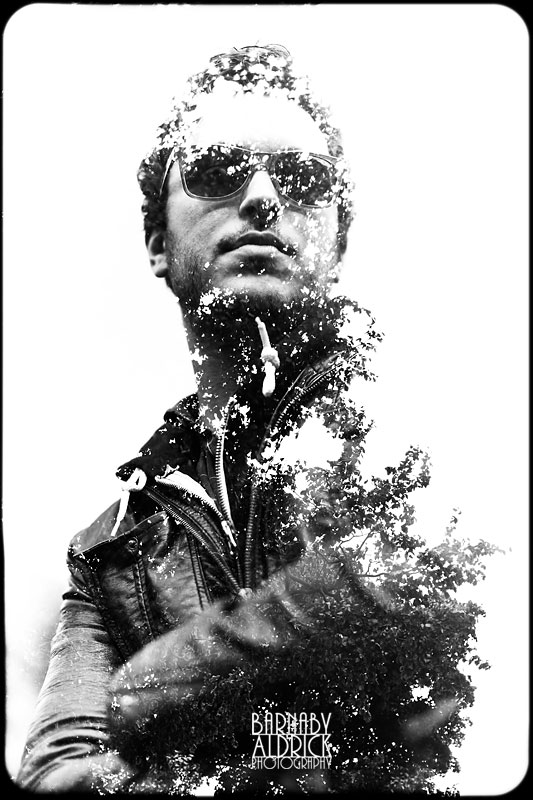
The results can look like special effects of someone weathering away and crumbling to dust – like some Indiana Jones bad guy who ‘choose poorly’.
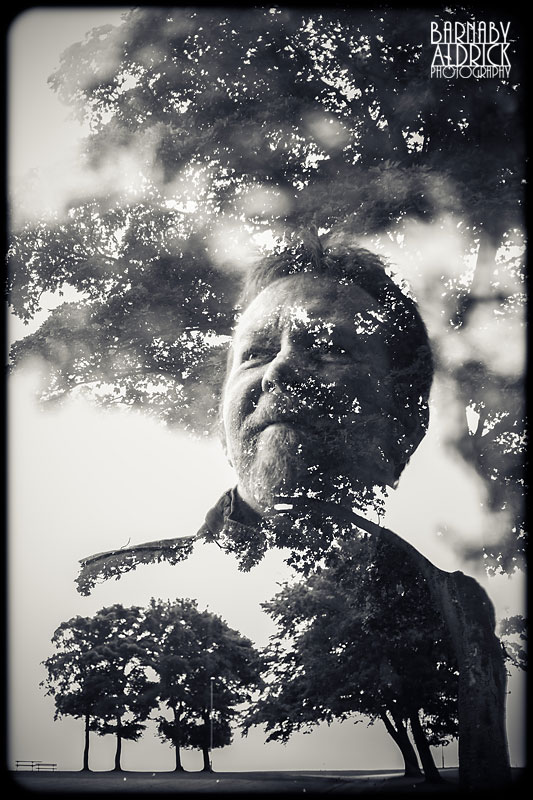 Another idea I played, instead of adding texture to the dark was blending two scenes, with image in each.
They start to take on a movie poster quality.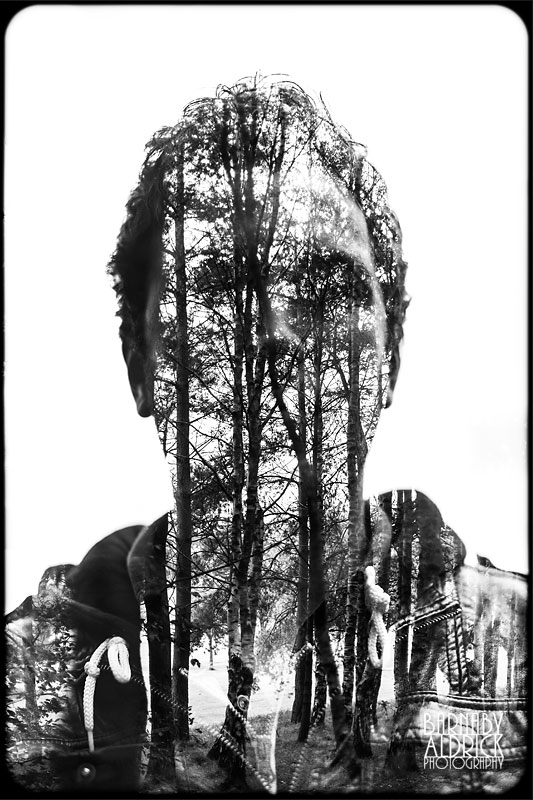 Almost Blair Witchey!
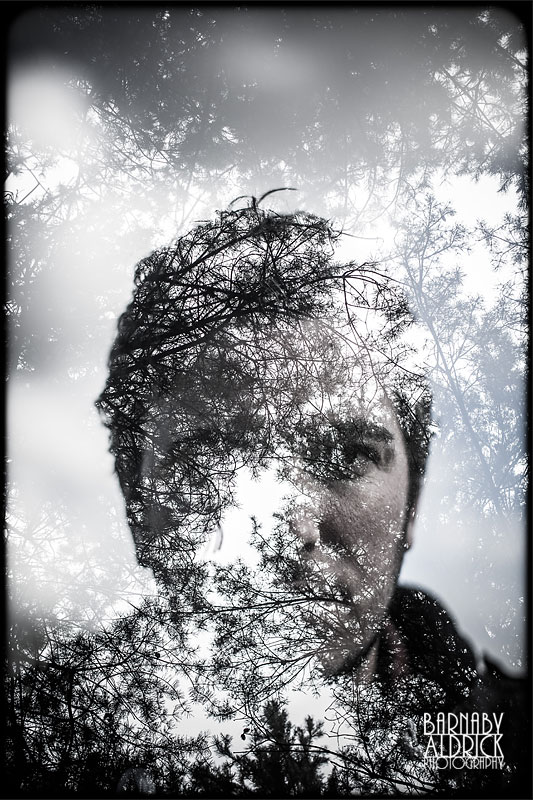 Or a slightly creepy Robin Williams in ‘Insomnia’ vibe
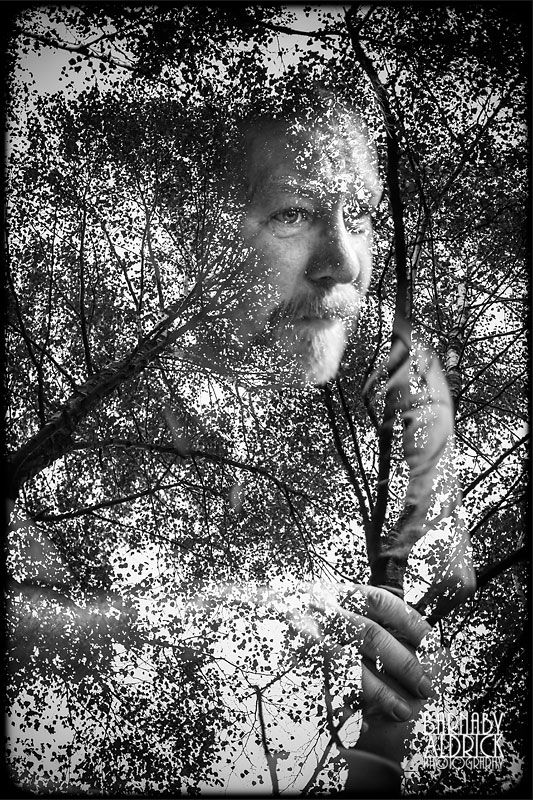 It’s fun picking an image to match a texture, and you start to be able to guess a little how they’ll match, choosing the different Multi-Exposure controls (Additive, Average, Bright & Dark) accordingly.
You can even have the image you’ve chosen to blend up on the LCD as you look through the view finder, to help choose the area of texture accordingly.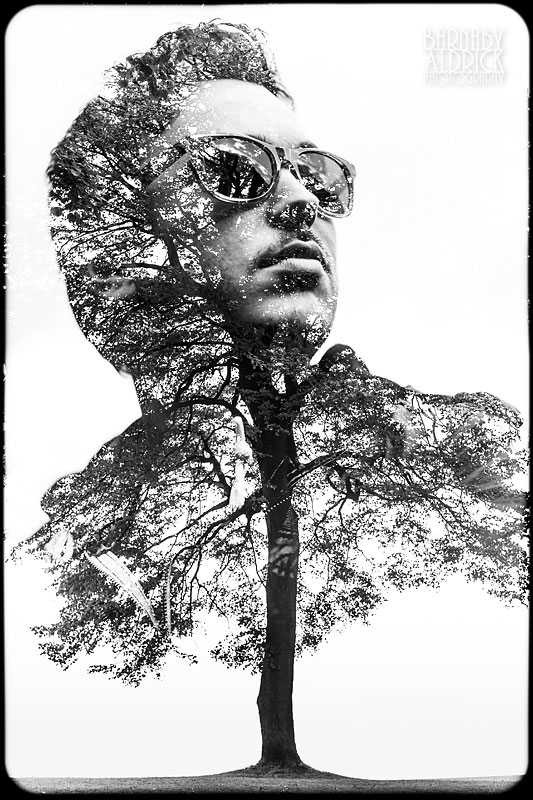
But it was a day later when I started to get what I had originally envisioned I wanted these images to look like.
What I wanted was that kind of floating head portrait of yesteryear, blended filled with texture, and yet still with detail on the face.
I needed a portrait exposure with overexposed sky, and a the outline of a tree against similarly over exposed sky, and the two blended as such!
I love how the tree almost appears like a central-nervous-system / spine, and the branches the capillaries.
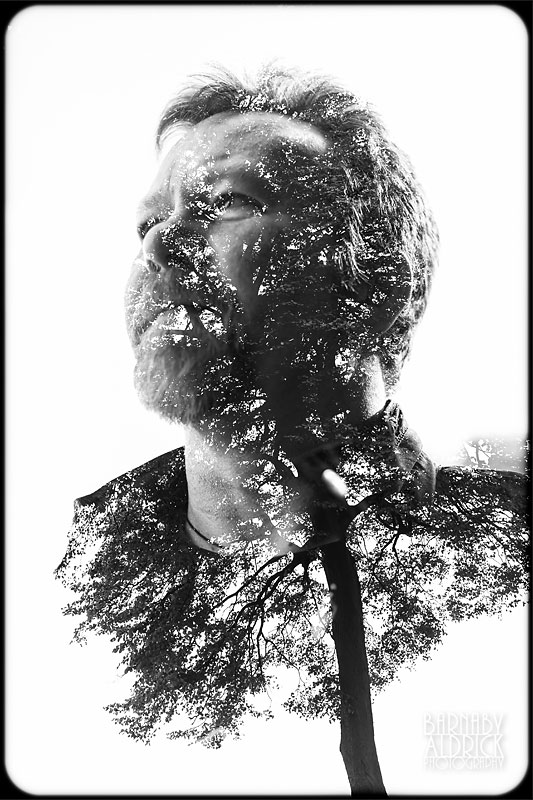
Another image of Joe worked nicely using this same technique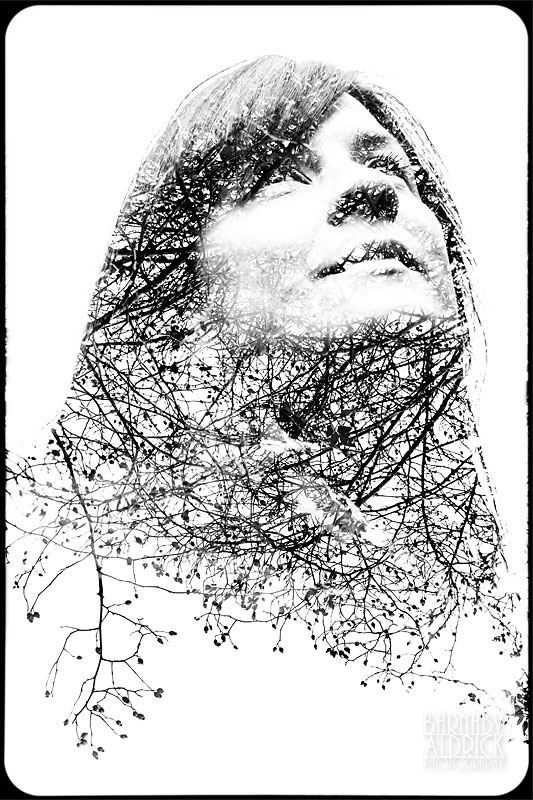
That night my girlfriend Clare & I took Kyra out and after shooting a few choice exposures of her, we wandered undercover and I added a few fun textures.
Which is your fave?
1. The Wicker man? (above)
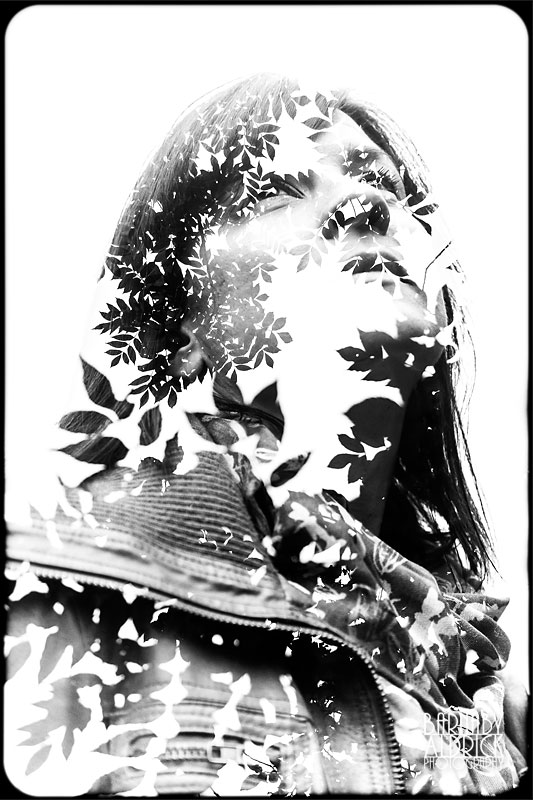
2. Big leaf
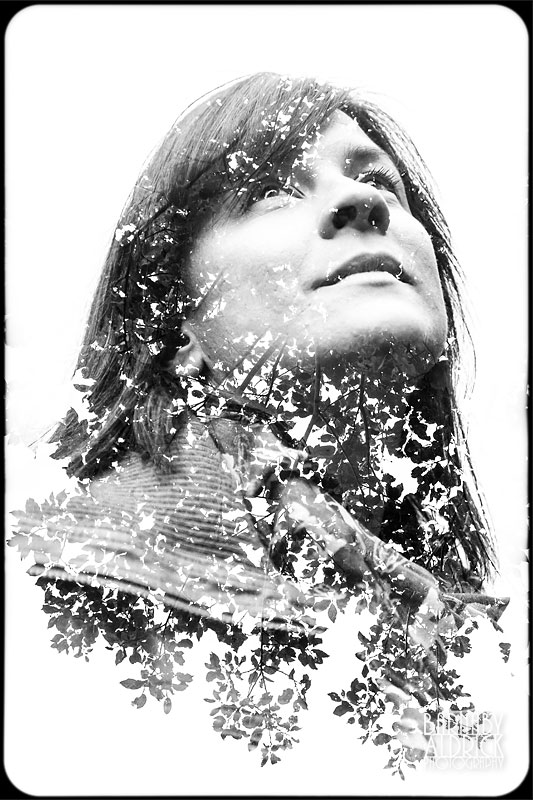 Or 3. Small leaf?
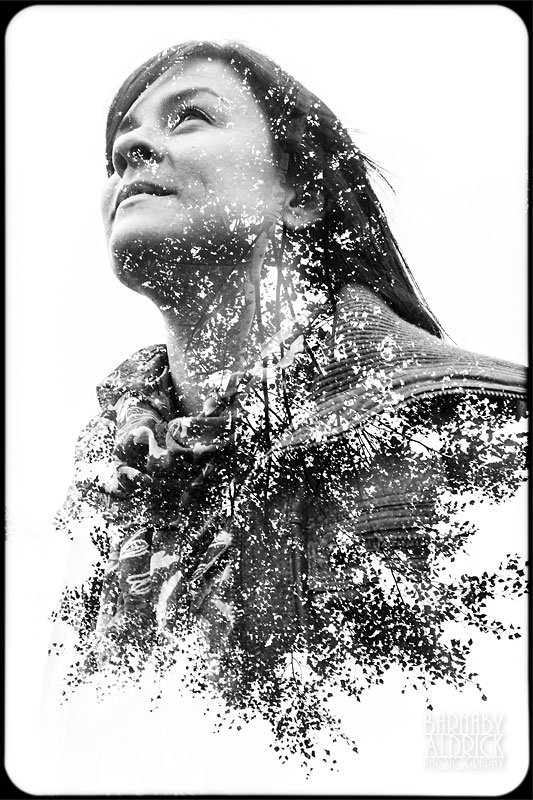 I also liked the flow of this one.
(What I’d started to do was flip the camera over for the texture shots, so the top of the tree masked the bottom of the first image, if that makes any sense at all)
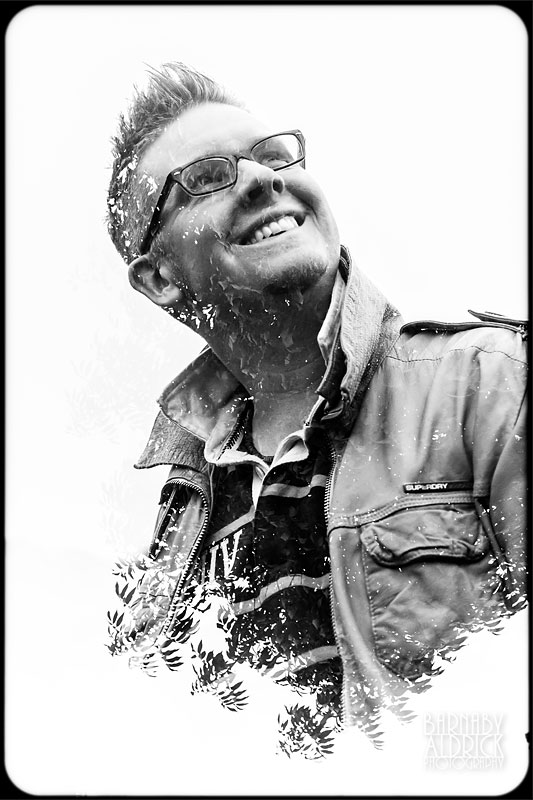
Afterwards, I handed the camera to Clare to shoot a few portraits of me for me to play with.
I rather like this one of me mugging with what appears to be some kind of congenital skin disorder.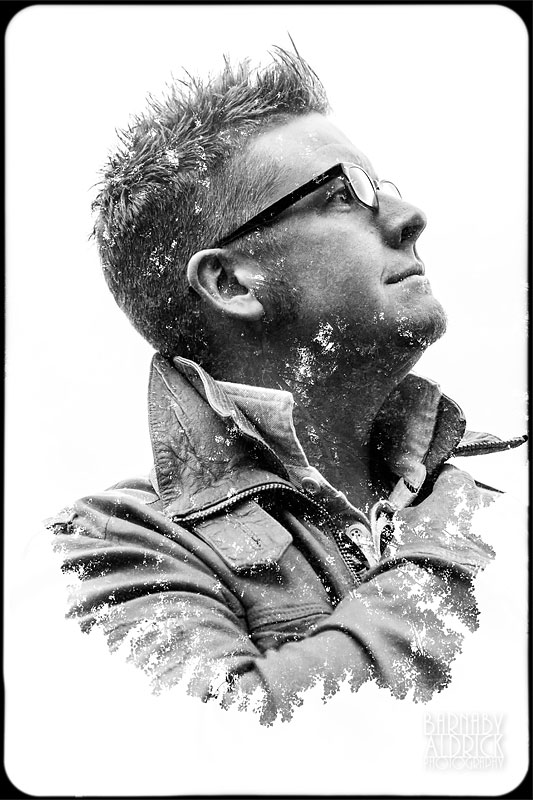 Side profile
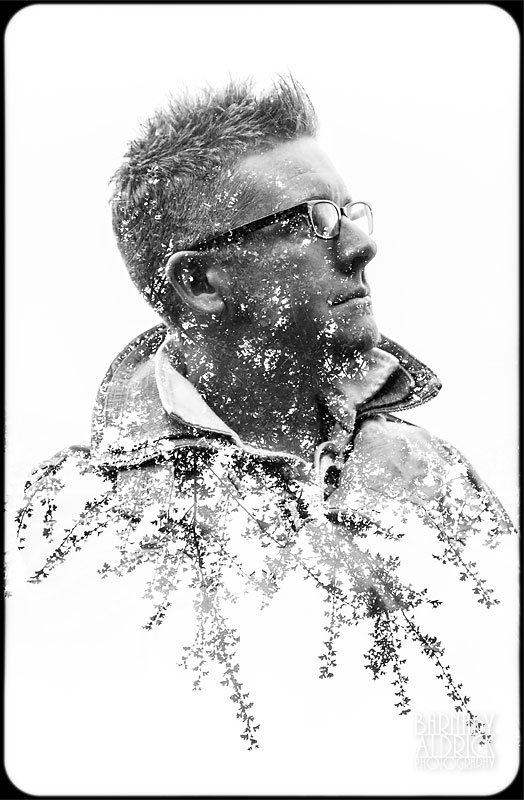 Serious
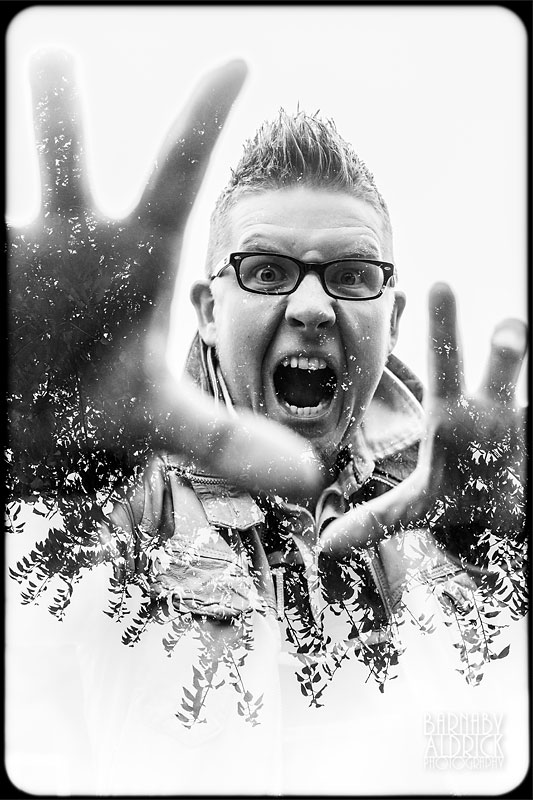 And less serious!
Either way, I’ve enjoyed playing with this new feature on my mkIII, and it reminded me of the fun I used to have on film cameras using their multiple-exposure modes (which basically just didn’t wind the film on, so you could add one person into the shot loads of times). However, where you had to worry about under exposing each image by an appropriate amount to result in a correct exposure, the fact that the two or three blended images create a RAW file that you have the latitude to push and pull, means this technique is very versatile.
As I already said, it’s nothing new in digital terms, as images can be consciously blended in Photoshop at the flick of a switch, but the fact that there’s a certain choose, shoot & hand it to technology to interpret & blend means there’s no conscious, creative limitation to what could happen. The images are rarely perfect, but are quite surprising.
Whether I’ll implement it professionally or not is another question, but it opens up all kinds of fun avenues for creative projects.
Hope you enjoyed this Relander-inspired multi-exponeering foray (be sure to check out Christoffer Relander‘s inspired work).
No doubt there’ll be more to come – so stay tuned…
B
